
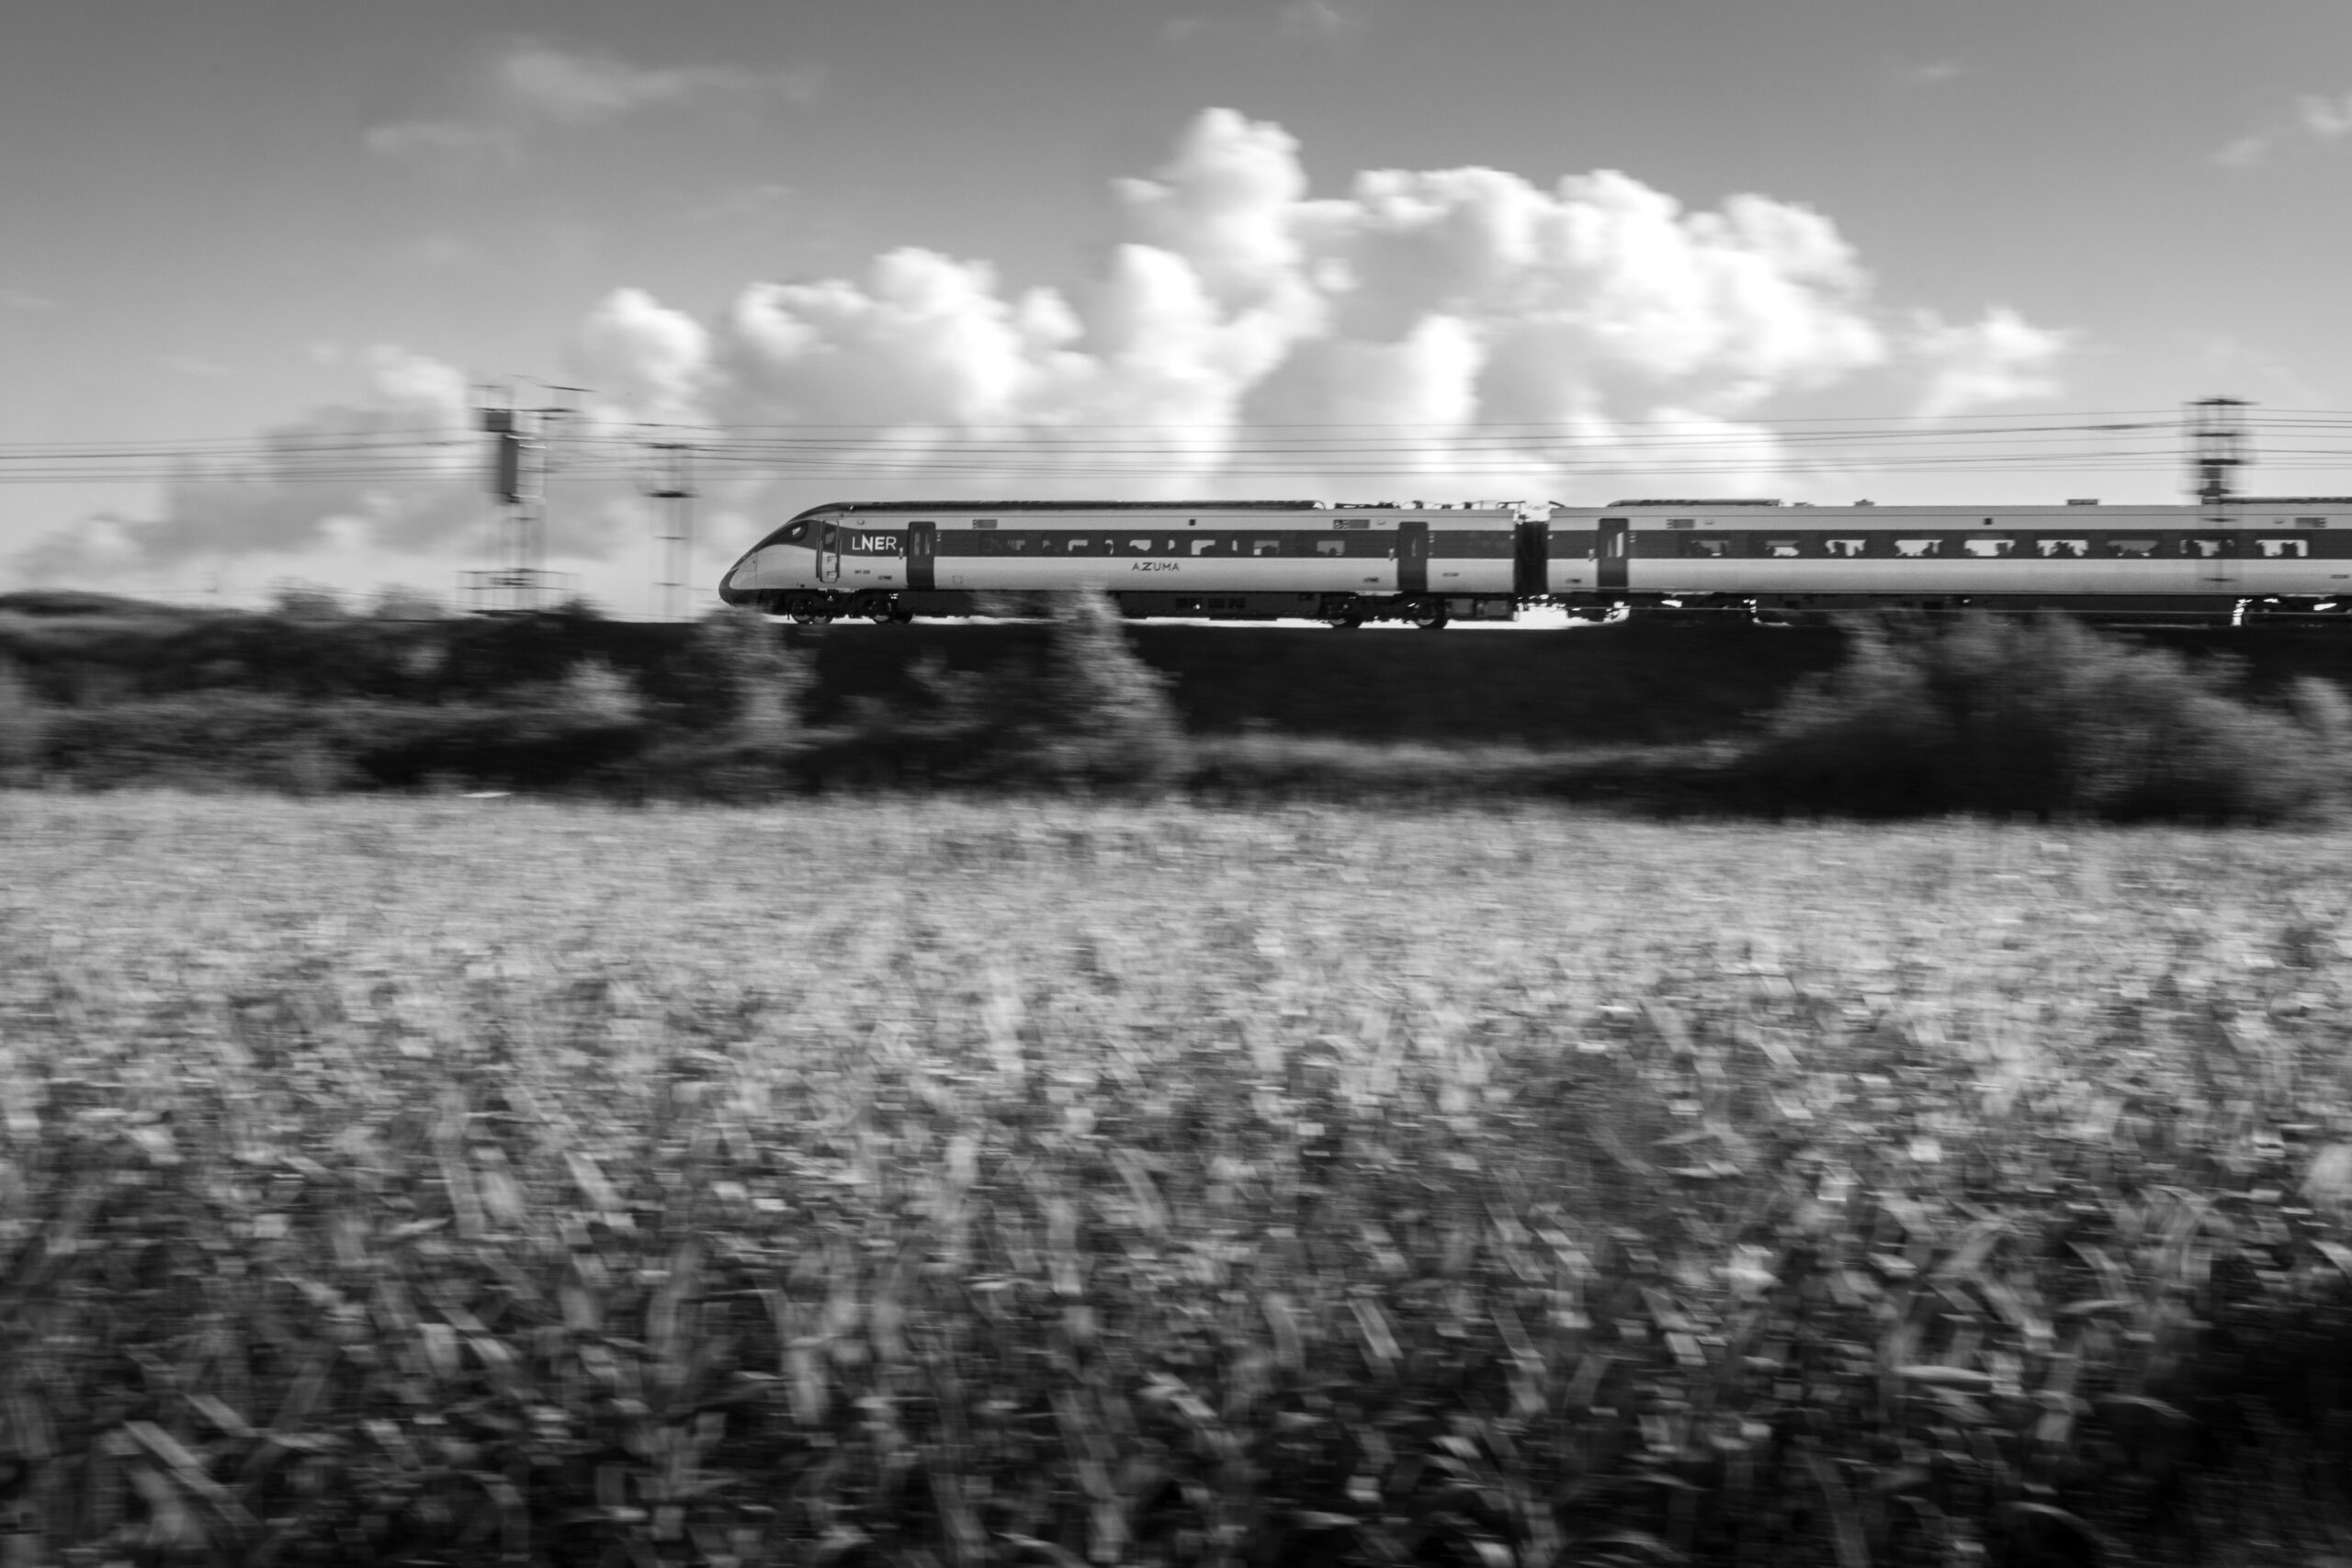
Discover how panning railway photography can transform a passing train into a creative image full of movement, speed and atmosphere. My experience photographing LNER Azumas on the East Coast Main Line reveals the challenges, camera settings and techniques behind capturing a sharp train against a motion-blurred background.
Photographing speed: the art of panning trains
Railway photography offers endless opportunities to experiment with light, composition, weather and movement. One technique I’ve wanted to explore more seriously is panning: using a slow shutter speed while following a moving train to keep the subject relatively sharp while the background becomes a blur of horizontal lines.
It’s a technique that can transform a familiar railway scene into something much more dynamic. Rather than simply recording a train passing through the landscape, panning railway photography attempts to communicate the experience of speed.
I’ve photographed hundreds of trains for my YouTube videos, experimenting with everything from dawn and dusk photography to night photography, reflections and long exposures. However, when I recently put together a selection of my images for a couple of presentations, I realised just how few panning photographs I’d taken.
It seemed like the perfect excuse to head out with my camera and put that right.
My destination was the East Coast Main Line, where LNER Azumas and other passenger trains travel at speeds of up to 125mph. If I could follow one of these trains smoothly enough, perhaps I could capture the sense of speed that a conventional photograph often struggles to convey.
What is panning railway photography?
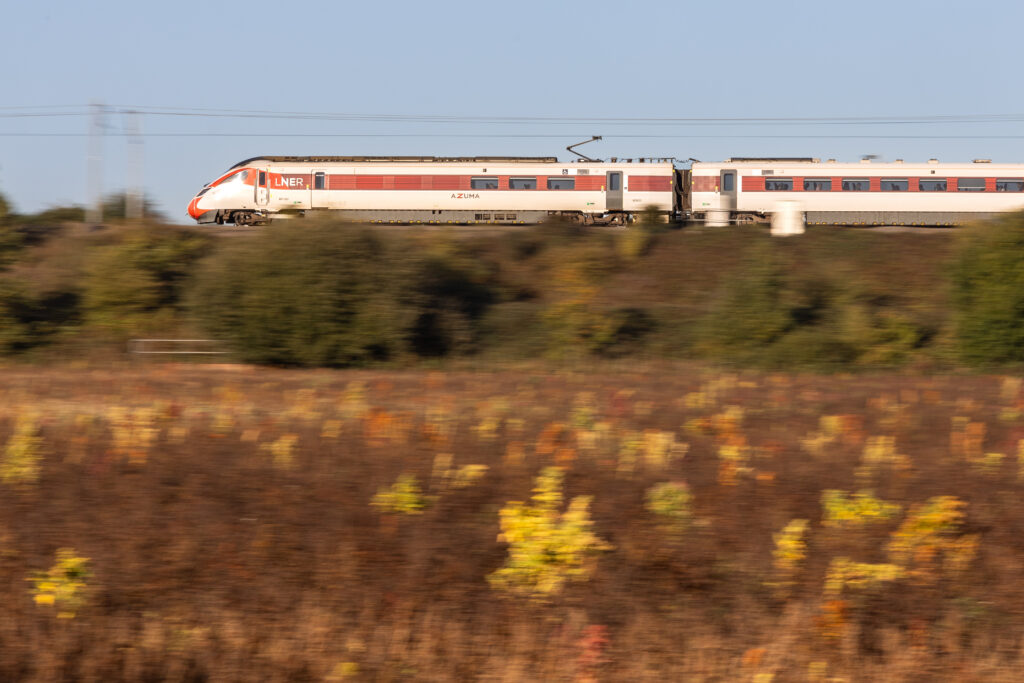
Panning is a photographic technique in which the camera moves with a subject during the exposure. By matching the camera’s movement to the speed and direction of the subject, the photographer attempts to keep it relatively sharp while the stationary background becomes blurred.
The effect is particularly well suited to railway photography. Trains travelling past a fixed viewpoint follow a predictable path, giving the photographer an opportunity to track their movement through the frame.
A successful panning photograph can have several distinctive characteristics:
- A relatively sharp train: The locomotive, leading cab or selected carriage remains recognisable, providing a clear focal point.
- A motion-blurred background: Trees, buildings, fields and trackside features become horizontal streaks that communicate speed.
- A strong sense of movement: The photograph feels dynamic rather than static, giving the viewer an impression of the train travelling through the scene.
- A considered composition: The direction of movement, background, foreground and position of the train all contribute to the finished image.
The objective isn’t necessarily to produce a technically perfect photograph. Panning is also a creative choice. The amount of blur, the parts of the train that remain sharp and the way the surroundings are rendered all influence the character of the final image.
Choosing the right shutter speed
The shutter speed is one of the most important decisions when attempting panning train photography.
For conventional railway photography, a relatively fast shutter speed is often used to freeze a moving train. Panning deliberately takes the opposite approach: a slower shutter speed allows movement to register during the exposure.
However, there is no single setting that guarantees success. The result depends on the train’s speed, its distance from the camera, the angle at which it passes, the smoothness of your panning movement and the amount of blur you want to achieve.
For a first experiment, shutter speeds around 1/125 or 1/60 of a second provide useful starting points. More pronounced effects can be achieved at 1/30 or even slower, although keeping the train sharp becomes increasingly difficult.
On my East Coast Main Line outing, I began at 1/40 of a second, with an aperture of f/16 and ISO 125. The results were disappointing. Many of the photographs were blurred, and the proportion of frames with an acceptably sharp train was very low.
I changed the shutter speed to 1/60 of a second and found the results improved. More of the train was sharp enough to be usable, although success remained very hit and miss.
That experience reinforced an important lesson: a slower shutter speed doesn’t automatically produce a better panning photograph. The aim is to find the right balance between sufficient background blur and enough sharp detail in the train.
If you’re starting out with panning railway photography, try a short sequence at different shutter speeds. Compare the results at 1/125, 1/60 and 1/30 of a second, paying attention to both the background movement and the sharpness of the train.
Getting the train in focus
A major challenge in panning train photography is maintaining focus while the camera is moving and the train passes through the frame.
For my experiment, I changed from single-shot autofocus to continuous autofocus, known as Servo AF on Canon cameras. This allows the camera to adjust focus as the subject moves, rather than relying on a single focus measurement.
Continuous autofocus is a useful starting point for moving trains, particularly when combined with an appropriate tracking or focus-area setting. However, the camera still needs a suitable target to follow, and it may occasionally focus on foreground vegetation or other objects rather than the train.
I also discovered that how I followed the train made a considerable difference.
Initially, I found myself chasing the train through the viewfinder, attempting to follow its movement along the entire length of the formation. The resulting photographs were often disappointing.
Gradually, I began to concentrate on a specific part of the train, such as the leading cab or an individual carriage, and follow that subject through the exposure.
This felt much more controlled. Rather than trying to follow everything, I was concentrating on one identifiable point and attempting to keep it in the same position within the frame.
Smooth movement is essential. Begin tracking the train before pressing the shutter, continue following it as you shoot, and don’t stop moving the camera immediately after the exposure. This follow-through helps avoid introducing unwanted movement into the photograph.
The technique takes practice, and even with continuous autofocus and a burst of frames, many photographs will miss the mark.
Image stabilisation: an unexpected discovery
Another adjustment I made during my East Coast Main Line session was to switch off the lens’s image stabilisation.
Image stabilisation can be extremely useful in conventional handheld photography, but panning introduces a different kind of camera movement. Some lenses offer dedicated panning stabilisation modes designed to compensate for movement perpendicular to the direction of the pan.
The behaviour depends on the equipment being used, so it’s worth checking your lens manual rather than assuming stabilisation should always be on or off.
During my experiment, I found that switching stabilisation off appeared to improve my results. Combined with continuous autofocus and a shutter speed of 1/60 of a second, it gave me a more promising starting point.
This was an observation from my particular setup, not a universal rule. If your lens offers a dedicated panning mode, it’s worth comparing the results with that mode enabled, with standard stabilisation and with stabilisation disabled.
The most useful approach is to change one setting at a time and examine the results.
Composition: look beyond the train
Panning railway photography isn’t just about camera settings. The surroundings can make the difference between an ordinary photograph with some blur and a compelling creative image.
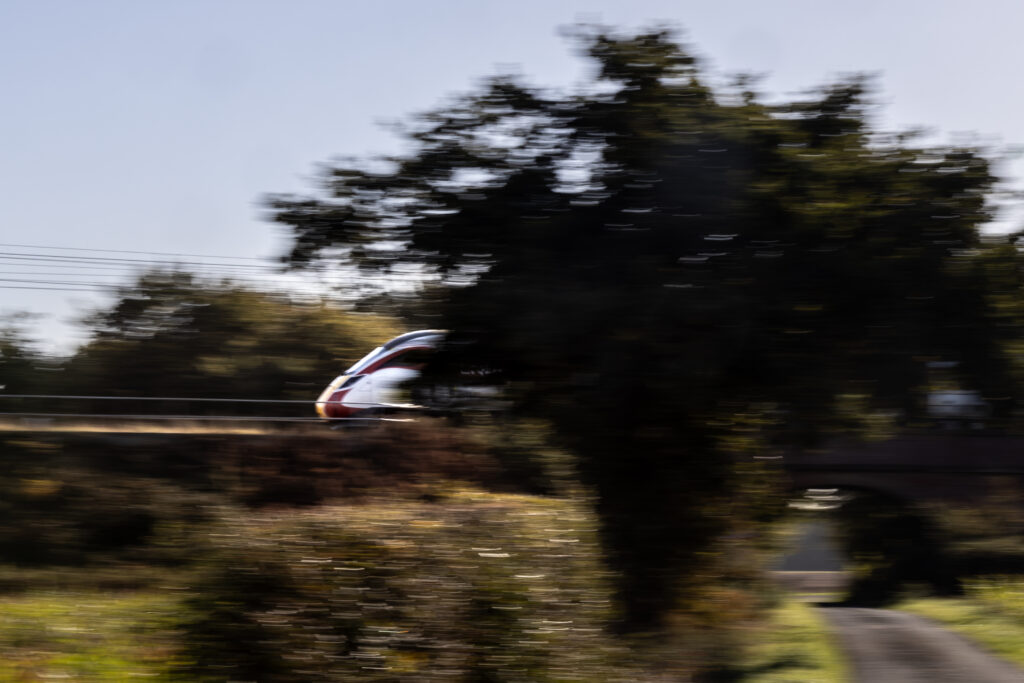
At my first position, I quickly discovered that the view wasn’t as open as it had appeared. Bushes and trees along the embankment obscured parts of the train, spoiling otherwise promising frames.
I moved to find a clearer opening and began looking for foreground features that could contribute to the sense of movement.
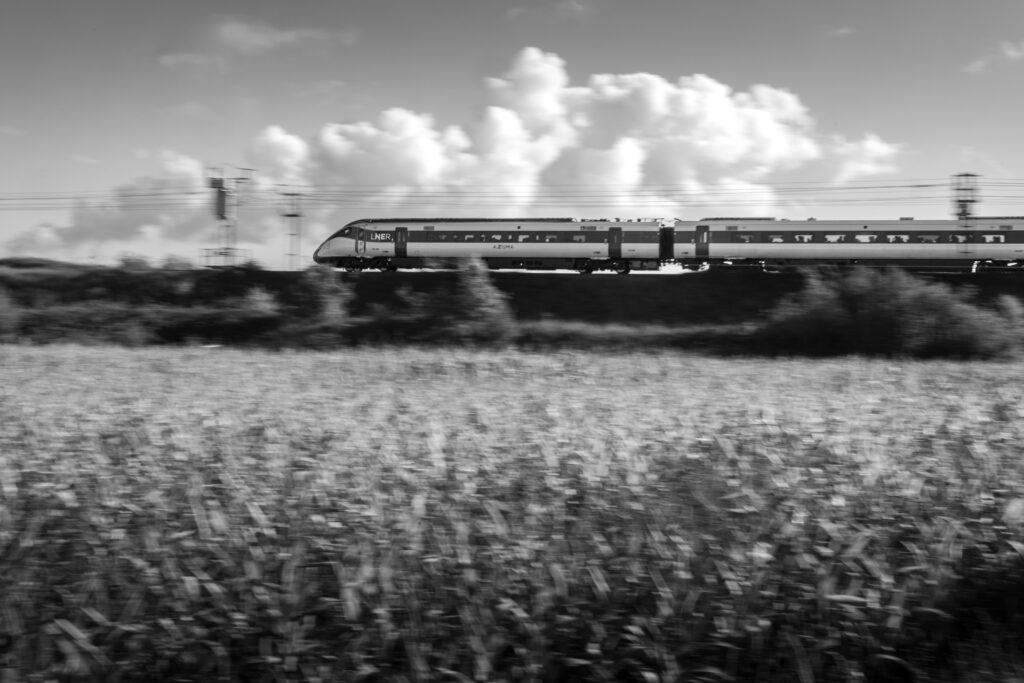
Low vegetation, grasses and fields can create additional layers of blur, adding depth and giving the photograph a more immersive quality. A relatively clean background can also help the train stand out, while strong lines and contrasting colours can make the movement more pronounced.
It’s worth considering the direction of the light, too. Later in my session, I tried photographing from the opposite side of the line, looking into a relatively harsh sun. I wanted to see whether the foreground could become a more prominent element of the composition.
The results weren’t always successful, but experimenting with different viewpoints helped me understand how much the environment contributes to the final photograph.
Before settling on a position, consider the entire frame rather than concentrating exclusively on where the train will appear.
Burst mode and the reality of getting the shot
One of the practical difficulties of panning railway photography is that you need to coordinate several things at once: following the train, maintaining focus, moving smoothly and releasing the shutter at the right moment.
Using continuous shooting or burst mode allows you to record a sequence of frames as the train passes. This gives you more opportunities to find one where the movement, focus and composition come together.
However, a large burst doesn’t guarantee a successful photograph. During my session, many of the images were unusable, even when I felt that my camera movement had been reasonably good.
Some frames were sharp but had an inconvenient bush or tree obscuring the train. Others had the train in the ideal position but lacked sufficient sharpness.
Occasionally, though, everything came together.
Those successful frames made the experimentation worthwhile. They also demonstrated why I enjoy creative railway photography: the process isn’t simply about recording a train, but about trying something different and discovering an image that would have been impossible with a conventional approach.
Photographing LNER Azumas at 125mph
The East Coast Main Line was an ideal place to experiment. The regular passage of high-speed passenger trains provided repeated opportunities to practise, compare settings and refine my technique.
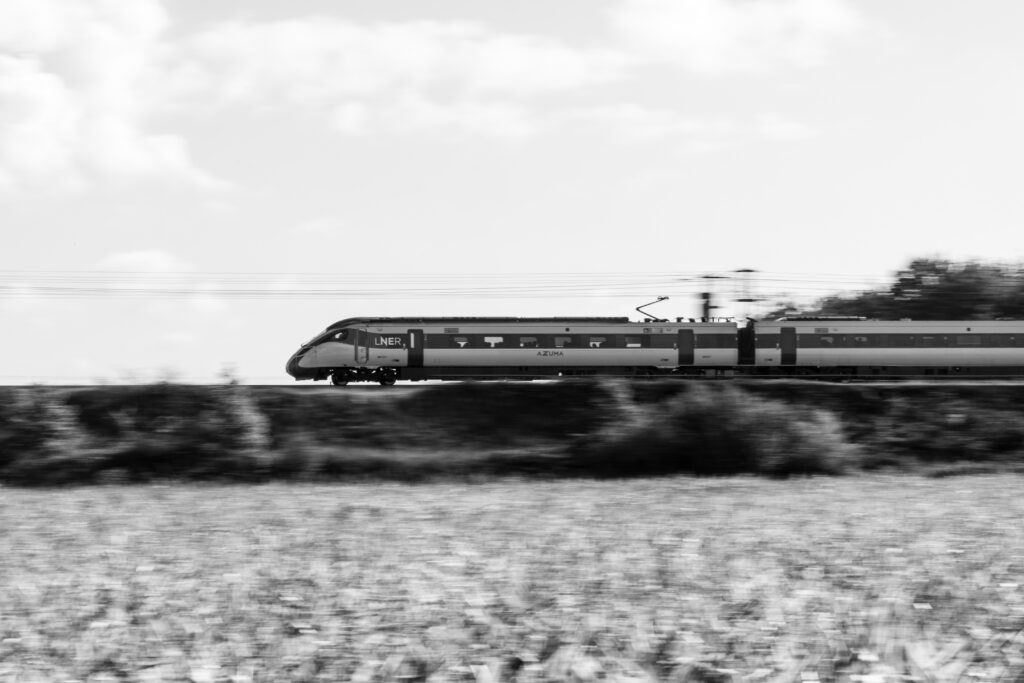
The challenge was to communicate the speed of an LNER Azuma without reducing the train to an indistinct blur. I wanted the train to remain the subject, with the surrounding landscape conveying its movement.
As the session progressed, I became more comfortable anticipating the train’s arrival and following a specific part of the formation. The improvement wasn’t dramatic or consistent, but there were enough promising results to encourage me to continue.
The outing also included some unexpected railway photography opportunities, including freight trains on the line towards Drax Power Station and Pontefract. These provided a welcome change from the panning experiment and a reminder that a railway photography outing rarely unfolds exactly as planned.
Ultimately, the most successful images weren’t necessarily the ones with the most extreme blur. They were the ones where the train retained enough detail to be recognisable, while the motion and surrounding landscape created a strong impression of speed.
My Panning railway photography starting settings
| Setting | Suggested starting point |
|---|---|
| Shutter speed | 1/125 or 1/60 sec |
| Aperture | Adjust for correct exposure and sufficient depth of field |
| ISO | Keep it low where possible, increasing it if needed for exposure |
| Autofocus | Continuous AF, such as Servo AF or AF-C |
| Drive mode | Continuous shooting or burst mode |
| Image stabilisation | Test the settings available on your lens |
| Camera movement | Track smoothly and follow through after shooting |
In bright daylight, you may need a small aperture or a neutral-density filter to avoid overexposure at slow shutter speeds. The appropriate settings will depend on the available light, your equipment and the effect you want to achieve.
Above all, experiment. Take several sequences at different shutter speeds, review the images carefully and adjust your technique based on what you find.
Watch the full railway photography adventure
My East Coast Main Line outing was an experiment in creative railway photography rather than a formal tutorial. I was working things out as I went along, learning from the unsuccessful frames and trying to understand what would give me a better chance of capturing a striking image.
The results were mixed, but a few photographs justified the effort and encouraged me to keep practising.
Watch the full video on my YouTube channel to join me trackside as I attempt to photograph LNER Azumas travelling at 125mph.
Panning is just one of the techniques I enjoy exploring in my approach to creative railway photography. By experimenting with movement, light, composition and the railway environment, I aim to create images that go beyond simply recording a train.
If you’re interested in railway photography, I hope this inspires you to try something different on your next photographic outing.